PUCH: handmade ergonomic keyboard


20 Aug. 2019 / Edit ✏️


I'm Alexis Philip, a full stack Web developer based in Aix-en-Provence, France.
Contact me or check out my latest articles!
The PUCH keyboard.
## Budget **Materials: ~122 €** (~$147) **Tools: ~23 €** (~$27) > Total costs can be lowered if you 3D print your own bottom and top plates, and if you already own soldering tools/materials. Materials: - 59 switches: 17 €; - 59 keycaps: 20 €; - 54 1N4148 diodes: 2 €; - 1 microcontroller (ATmega32U4): 2 €; - 1 micro USB female connector: 0.5 €; - 1 micro USB male connector: 0.5 €; - top & bottom plate: 75 €; - wires: 5 €; - solder: 7 €; - M2 screw and nuts: 1 €; Tools: - soldering iron: 18 €; - desoldering pump: 3 €; - desoldering wire: 2 €. ## Design To build the keyboard, I needed one aluminium top plate and bottom plate. I chose to build an ortholinear layout. I designed the layout to the correct dimensions on Adobe Illustrator. ![Front plate blueprint][front-plate-blueprint]The front plate blueprint.
I then sent the file to LaserBoost, which laser cut my top & bottom plates design on aluminium. ![LaserBoost plates][laserboost-plates]1.5mm aluminium by LaserBoost plates (third one is a gift, never ordered it. Nice of them!).
## Building ### Soldering switches I bought 59 Cherry MX Red switches, and I soldered them in a matrix pattern. ![Cherry MX red switches][cherry-mx-red-switches]Cherry MX red switches.
![Matrix layout][matrix-layout]1N4148 diodes linking all switches together in a matrix pattern.
After soldering them together, I connected them to the ATmega32U4 microcontroller. ![Micro controller][mcu]I soldered a first MCU which was not working, so I replaced it by a ATmega32U4.
### Wooden enclosure I built a wooden enclosure which fits between the top and bottom plates. I made an enclosure in it for the micro USB female port. ![Wooden enclosure][wooden-enclosure]Wooden enclosure + handwired micro USB extension to avoid using the MCU as the direct keyboard output.
Last steps were sanding and oiling the wood. ![PUCH keyboard outside][puch-keyboard-outside]End result. Really proud of it.
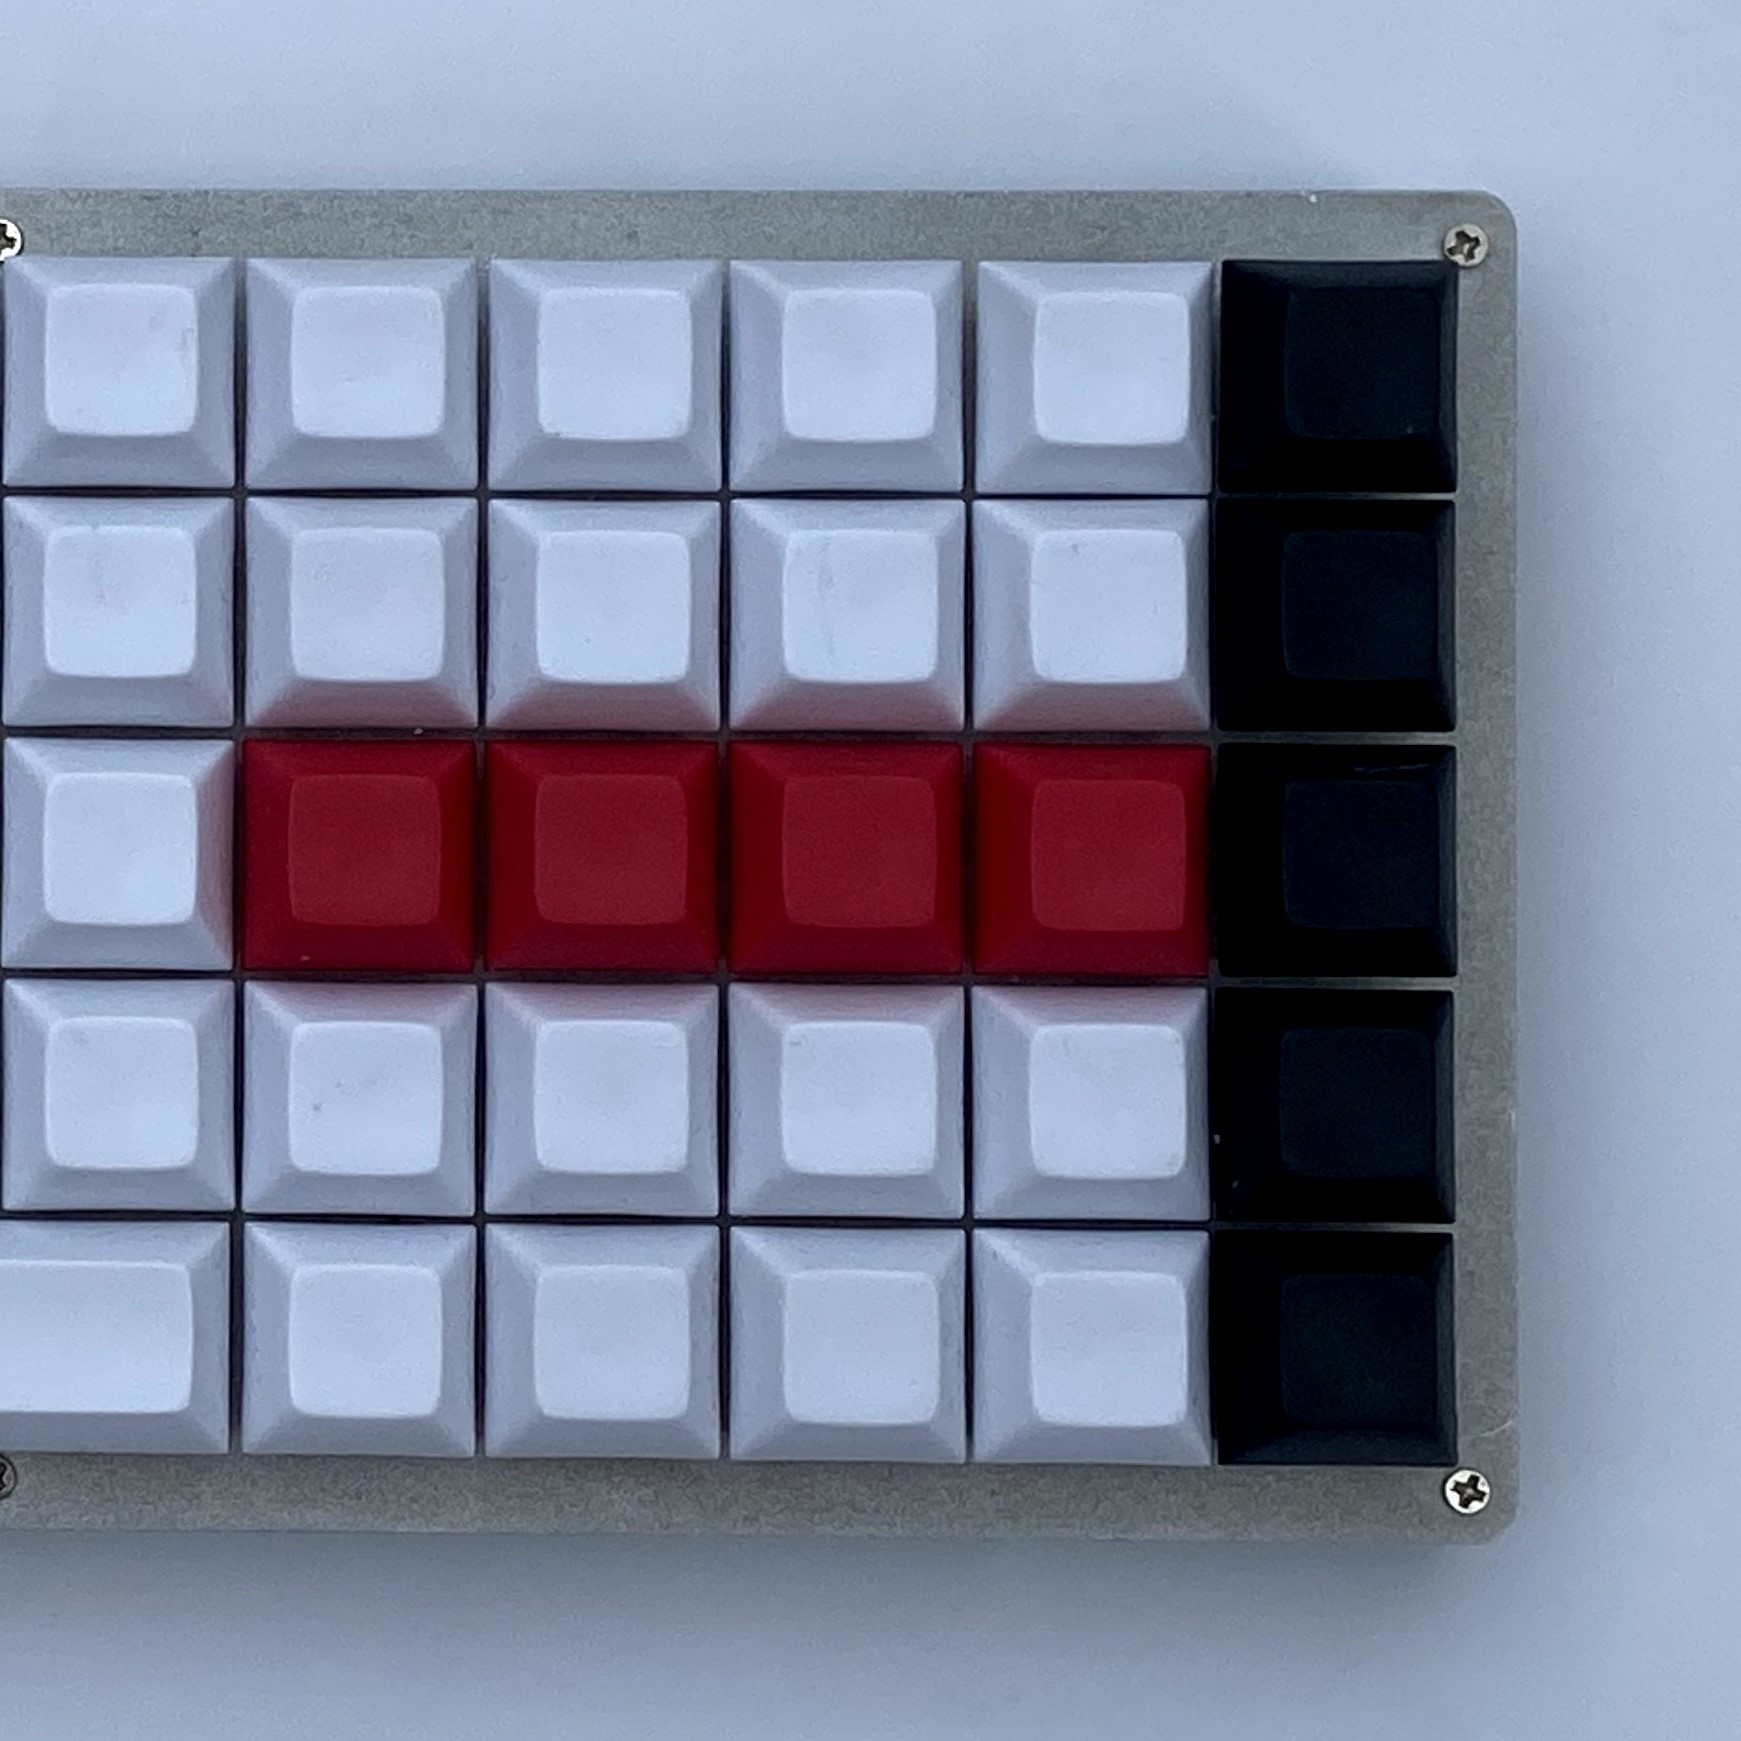
## Programming I used [QMK firmware](https://github.com/qmk/qmk_firmware) to program the microcontroller. It is a keyboard open source firmware which produces standard keyboard inputs understandable by most operating systems (Windows, all Linux distributions, macOS). The [documentation](https://docs.qmk.fm/#/) is really well-made and easy to understand for anyone. I programmed a few macro/functions: - autowrites my e-mail address; - shortcuts for *arrow*, *home*, *end* keys and many others; - shortcuts for French special characters. ## Conclusion Building a keyboard taught me a lot about electronics, design, soldering, ergonomics and C language. If you are interested in building your own keyboard with your own layout, building one yourself is possible, and you don't need any programming knowledge. **UPDATE 2020-02-10**: I've been using this keyboard for about 6 months. Writing and programming feels much easier, and my workflow is smoother. Macros allow me to do things faster, and writing what I'm thinking is easier than before. ![PUCH keyboard showdown][showdown]Its new keycaps style. What a showoff.
[puch-keyboard-outside]: /static/img/articles/2019-08-20-puch-keyboard-outside.jpg =100%x* [front-plate-blueprint]: /static/img/articles/2019-08-20-front-plate-blueprint.png =100%x* [laserboost-plates]: /static/img/articles/2019-08-20-laserboost-plates.jpg =100%x* [cherry-mx-red-switches]: /static/img/articles/2019-08-20-cherry-mx-red-switches.jpg =100%x* [matrix-layout]: /static/img/articles/2019-08-20-matrix-layout.jpg =100%x* [mcu]: /static/img/articles/2019-08-20-mcu.jpg =100%x* [wooden-enclosure]: /static/img/articles/2019-08-20-wooden-enclosure.jpg =100%x* [showdown]: /static/img/articles/2019-08-20-showdown.jpg =100%x*